Introduction: Felt roofing is a popular choice for residential and commercial properties due to its affordability, durability, and ease of installation. Whether replacing an existing roof or installing a new one, understanding the process can help you better prepare for the project. This blog post will provide a comprehensive guide to felt roofing installation, outlining the steps involved and what to expect during each process stage.
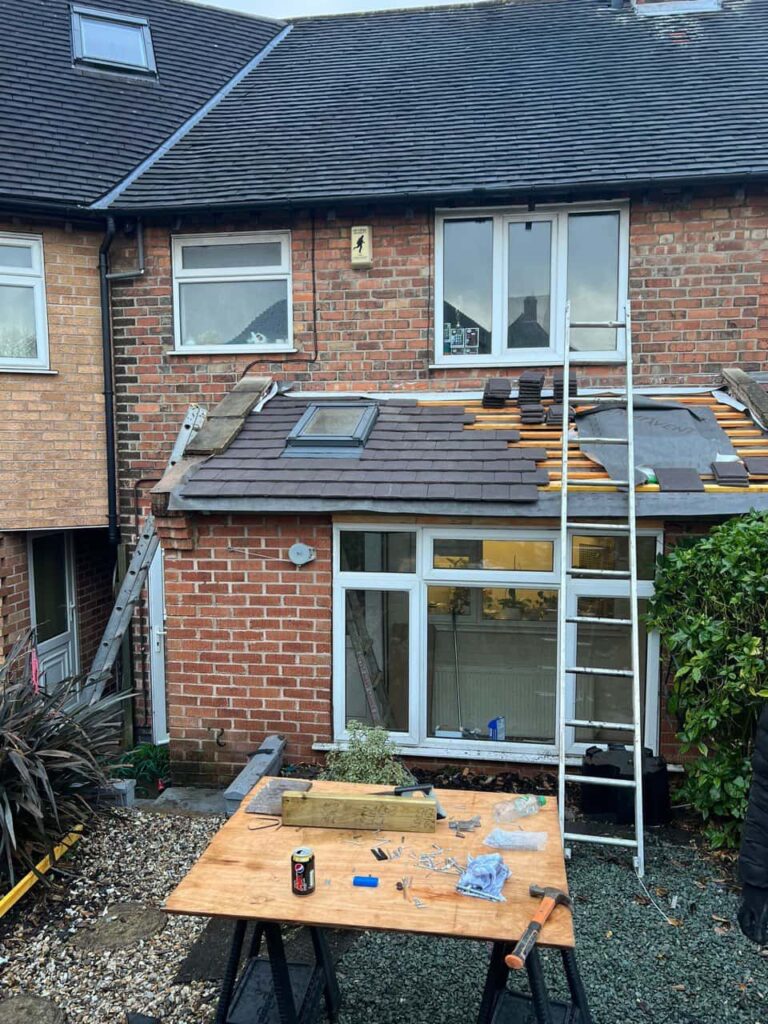
Roof Inspection and Preparation:
- The first step in felt roofing installation is thoroughly inspecting the existing roof substrate. Any damaged or deteriorated sections should be repaired or replaced before proceeding. Next, the roof surface is cleaned and cleared of debris to ensure proper adhesion of the felt material.
Application of Underlayment:
- Before installing the felt roofing material, underlayment is typically applied to provide additional waterproofing and protection. This may include asphalt-saturated felt or synthetic underlayment, depending on the project’s specific requirements. The underlayment is rolled out and secured to the roof substrate using staples or nails.
Cutting and Measuring Felt Material:
- Once the underlayment is in place, the felt roofing material is measured and cut to size. Care must be taken to ensure accurate measurements and alignment of the felt sheets. It’s essential to leave a slight overhang at the roof’s edges for proper drainage and sealing.
Installation of Felt Sheets:
- The felt roofing material is then rolled onto the surface and carefully positioned over the underlayment. Each felt sheet overlaps with the adjacent sheet to create a watertight seal. The edges and seams are secured using roofing nails or staples, ensuring a tight fit and preventing water infiltration.
Application of Adhesive and Sealant:
- To enhance the durability and weather resistance of the felt roofing system, a layer of adhesive or sealant may be applied to the seams and edges of the felt material. This helps to prevent water penetration and reinforces the integrity of the roof structure.
Final Inspection and Cleanup:
- Once the felt roofing material is installed, a final inspection is conducted to ensure all seams are properly sealed and the roof is defects-free. Any excess adhesive or sealant is removed, and the work area is cleaned to leave a neat and professional finish.
Conclusion: Felt roofing installation is a relatively straightforward process that can be completed efficiently with the right tools, materials, and expertise. By following these steps and working with experienced roofing professionals, you can ensure a successful and long-lasting felt roofing system for your property.
Call us on: 01322 952 296
Click here to find out more about Erith Roofing Repairs
Click here to complete our contact form and see how we can help with your roofing needs.